IoT Lab - Homebridge Setup
Introducing Homebridge, an Apple Homekit Gateway for simulating HomeKit compatible device.
In general, if you want a remotely-controllable device, you need an extraordinary price device that support Apple HomeKit and Google Home platform. The device need to be manufactored to support Wi-Fi or BLE (Bluetooth Low Energy) to make it able to connect to the internet and able to recieve the command from the IoT platform
s
A smart device starting from $50 to $250 🧐
That's why we need Homebridge. A 3rd party gateway for acting like a virtual smart device, also with Apple HomeKit and Google Home support.
Setting up Homebridge
We're following the instruction for setting up Homebridge using Node.js here: https://github.com/homebridge/homebridge/wiki/Install-Homebridge-on-macOS / https://github.com/homebridge/homebridge/wiki/Install-Homebridge-on-Windows-10
Setup Homebridge
Before we start
As Homebridge use local network for communication with the accessibility. So our device need to join the same LAN. We have provided Wi-Fi network for this workshop as follows:
- SSID: CSC217
- Password: csc1212312121
Install Homebridge
You need Node.js and npm as the prerequisite for the Homebridge installation.
To install Homebridge with Web UI plugins, run the following command:
npm install -g --unsafe-perm homebridge homebridge-config-ui-xSetup Homebridge configuration
Try create a new folder for Homebridge configuration, can be any folder on your drive.
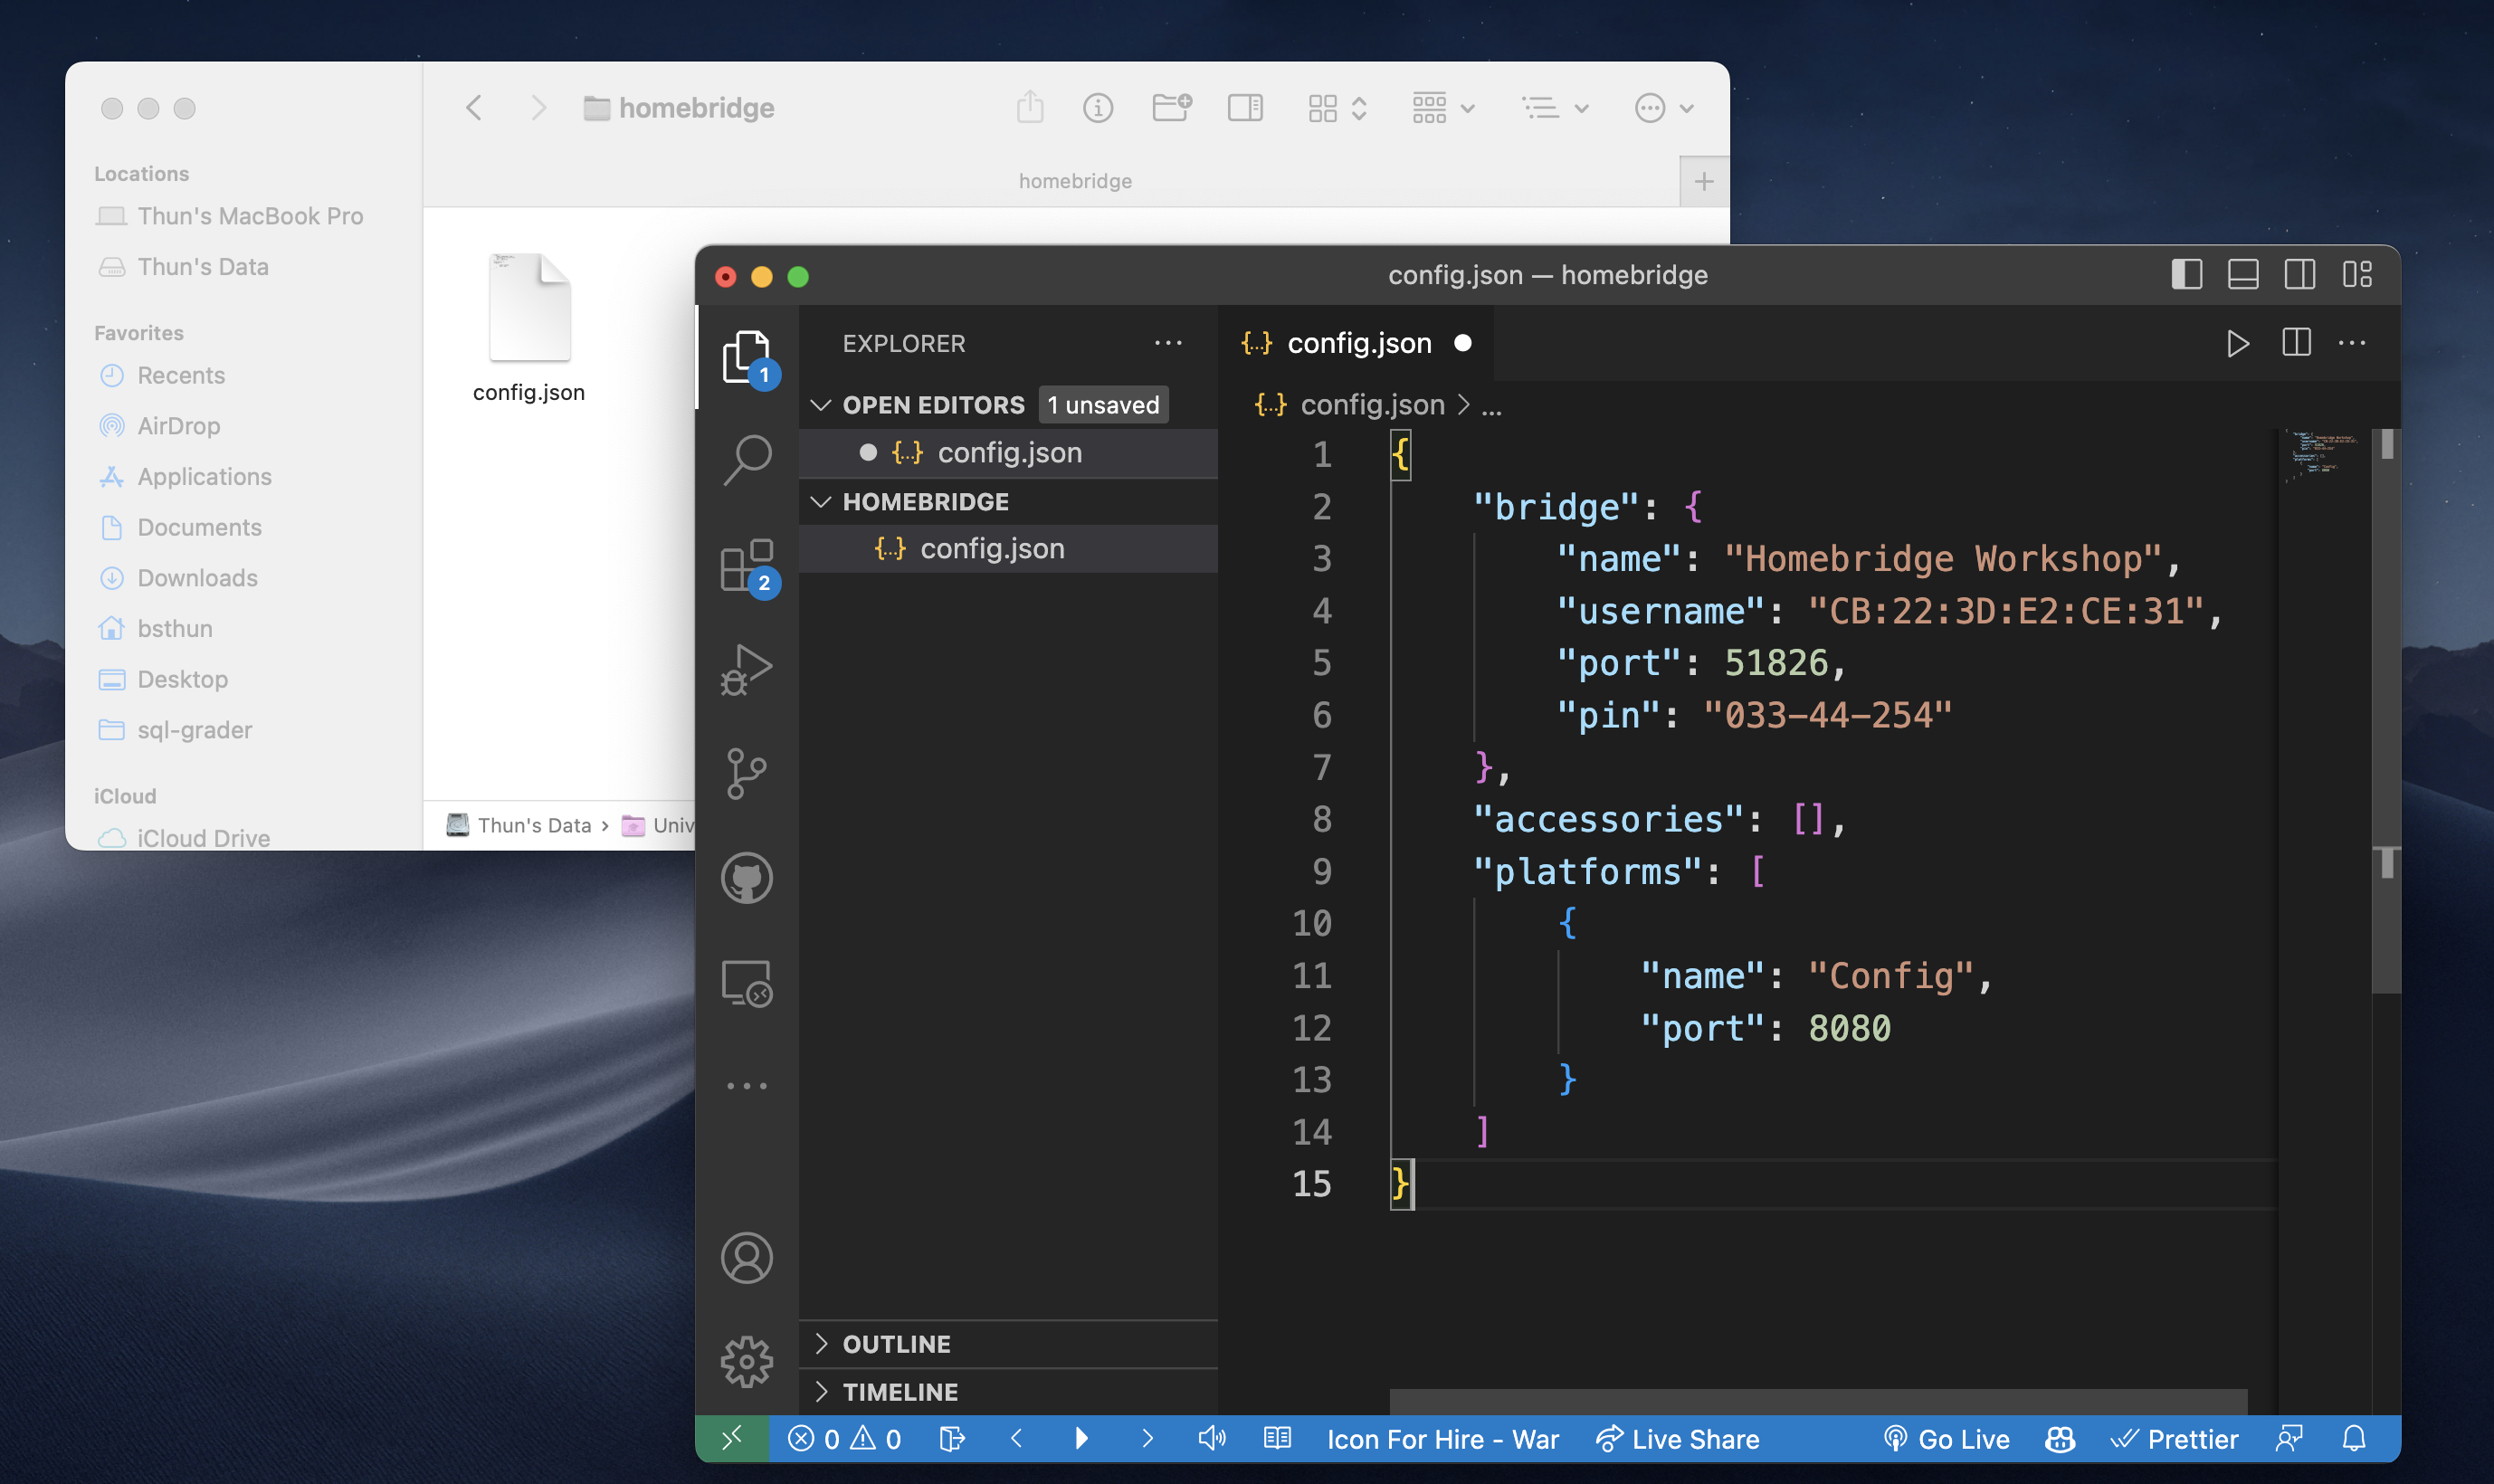
Then, create a file named config.json with a default value like this:
{
	"bridge": {
		"name": "Thun's Homebridge Instance",
		"username": "CB:22:3D:xx:xx:xx",
		"port": xxxxx,
		"pin": "xxx-xx-xxx"
	},
	"accessories": [],
	"platforms": [
		{
			"name": "Config",
			"port": 8080
		}
	]
}
As we're creating the FAKE HomeKit device, so we need a FAKE product information about it. So we need to randomize the MAC address (xx:xx:xx base16 charactors), port (any 5 digit numeric value), and pin (any 3-2-3 numeric value).
Start Homebridge instance
Open Terminal at the homebridge working directory. Then run the start command as follows:
homebridge -I -U .This will run a Homebridge (as we have previously installed in the first step) with -I which means Insecure mode (Learn more: https://github.com/homebridge/homebridge-config-ui-x/wiki/Enabling-Accessory-Control) and -U . which means we're using . (current working directory) as the data folder.
Caution: Please don't use hb-service command as it going to create Homebridge as a system service which will automatically start every time your system starts. It's suitable for running in the server (or Raspberry Pi). But we're using homebridge just for once, so we have no need to make it automatically start and always run in the background.
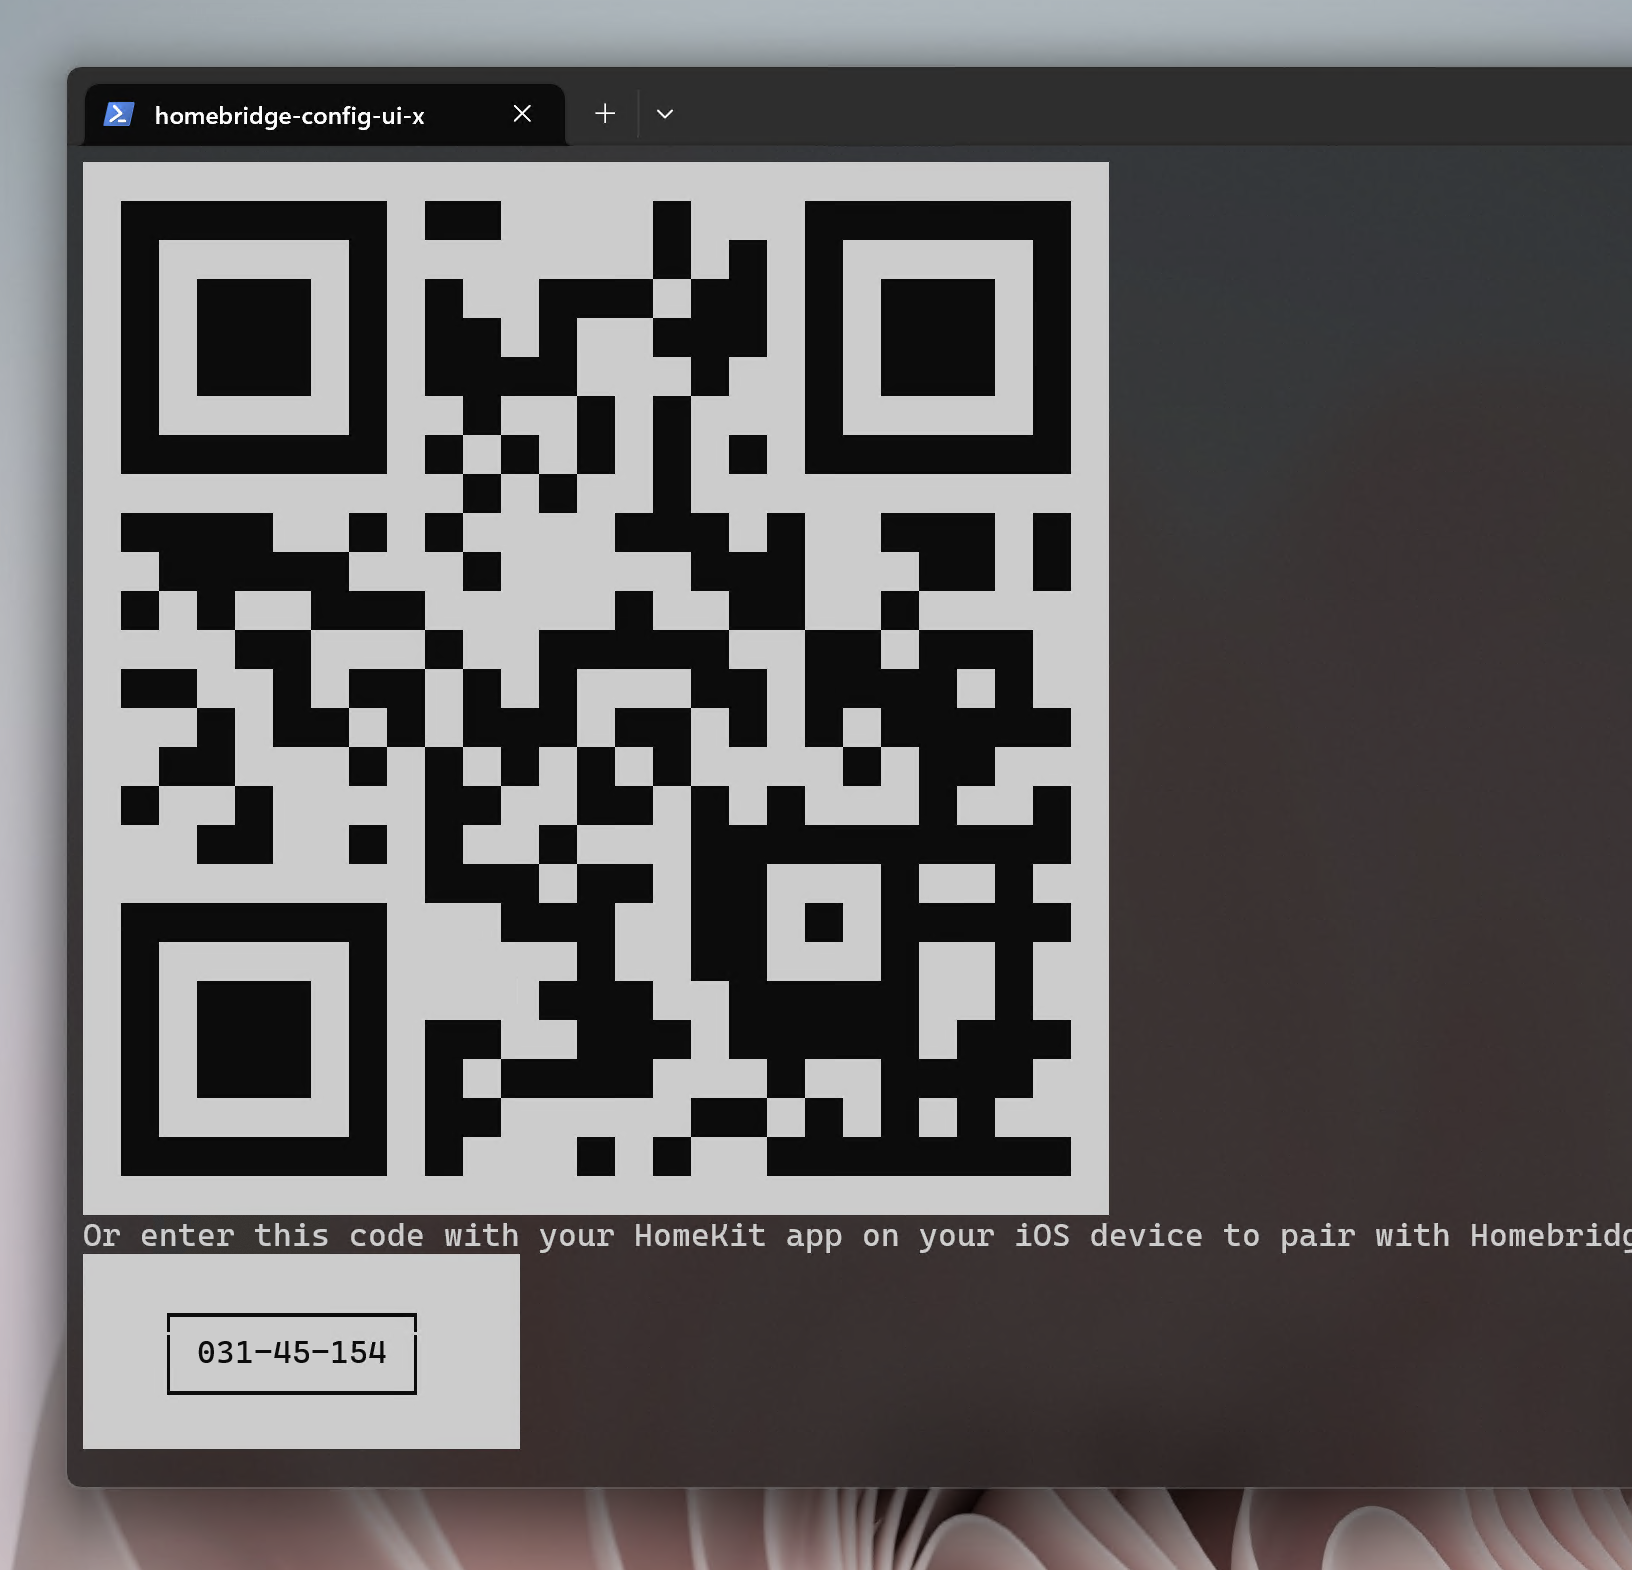
After you properly start Homebridge, it should appear an QRCode like this. We're now ready to pair with HomeKit!
Pairing with device
For Android user, please skip these steps to Using Homebridge GSH part.
For iOS user, we can use Home app (preinstalled with OS) for pairing with Homebridge server.
- Open Home app and setup for first time use.
- After you have setup your home, you should see a HomeKit screen like this:
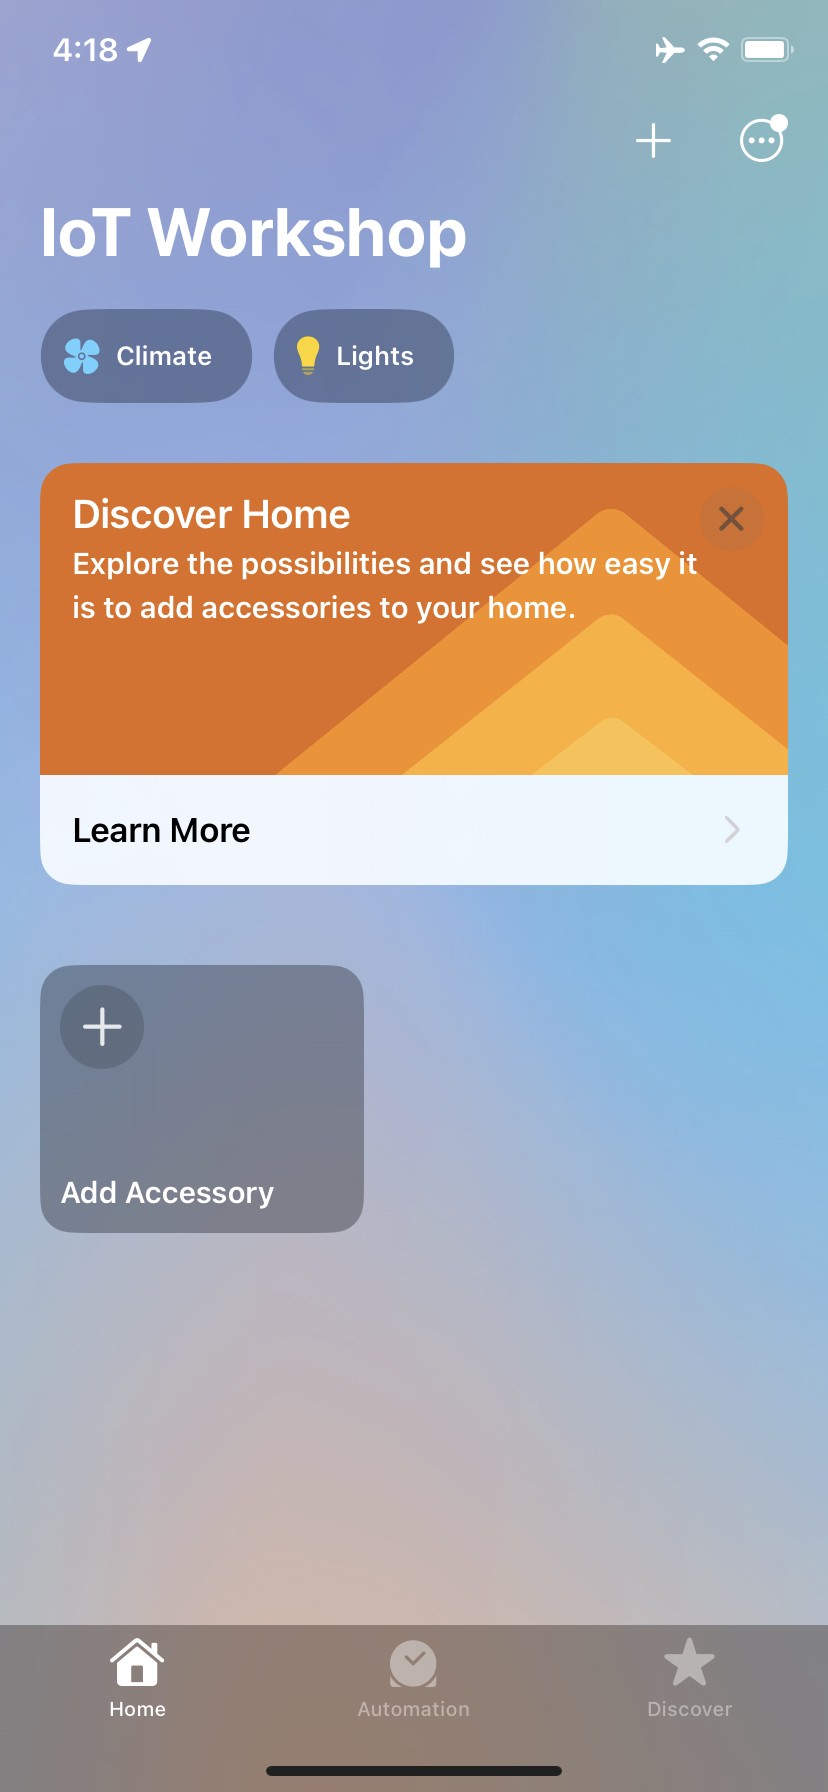
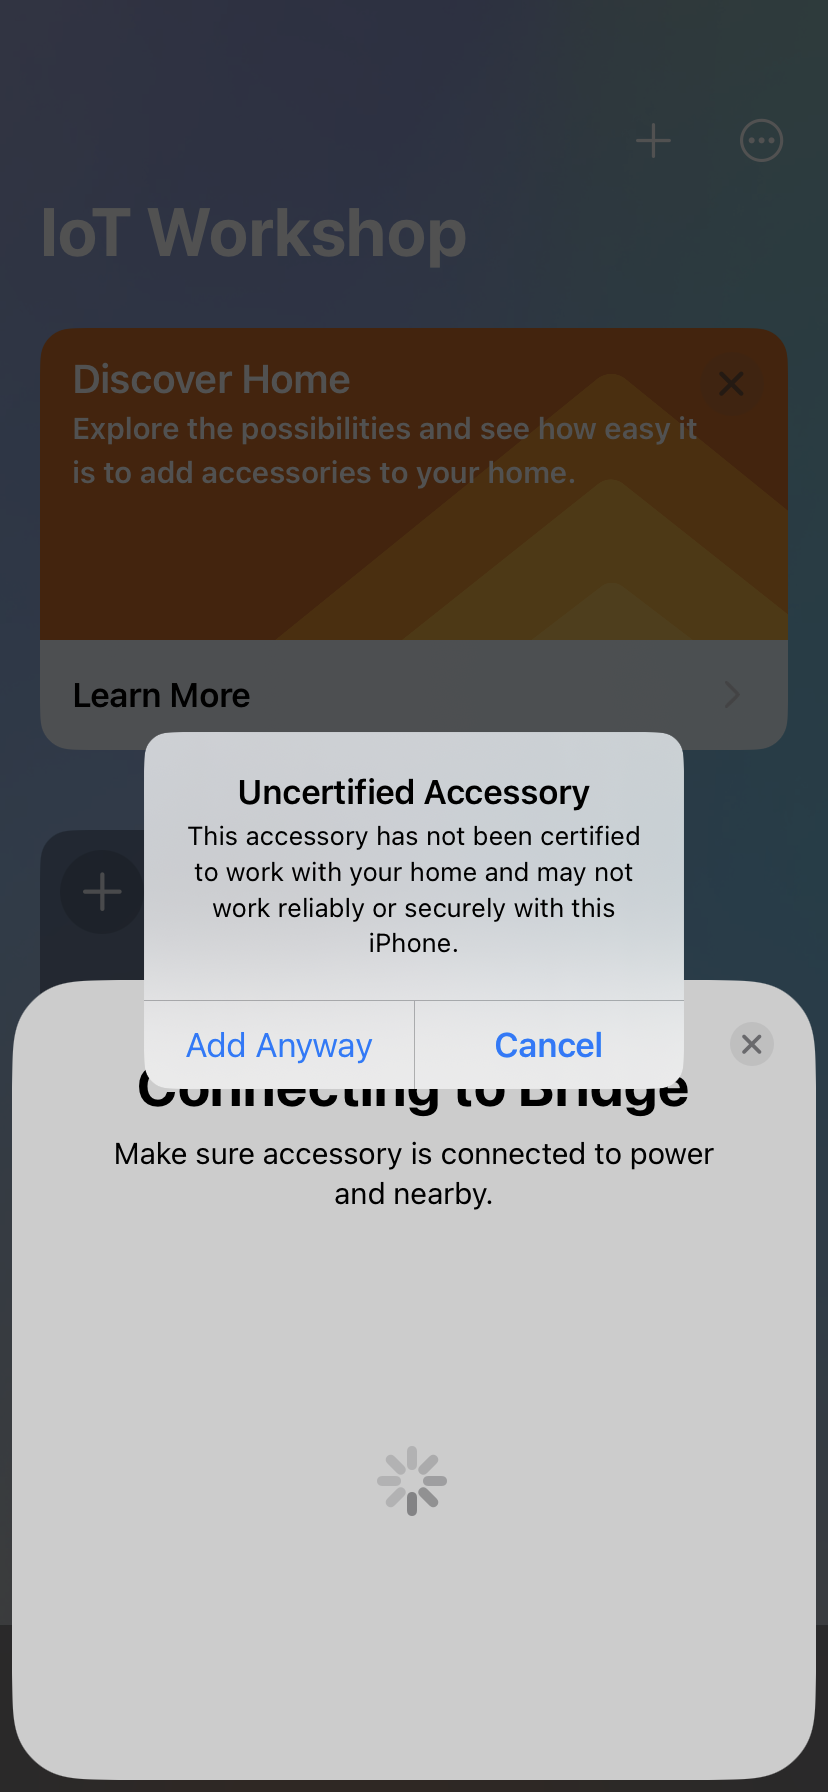
- Tap on the + button at the top right of the screen, then choose "Add Accessory". You will see the QR Code scanner prompt to scan the QR Code from your Terminal
-
If Home app can communicate with Homebridge, it will prompt uncertified accessory. Just click "Add Anyway" and follow the prompt.