Sending Cookies
What is Cookie?
Cookies are small pieces of data stored on a user's device by websites they visit. They serve various purposes in web development.
Example Cookies use cases.
-
Session Management
-
Personalization
-
Tracking and Analytics
-
Advertising
-
Shopping Carts
-
Security
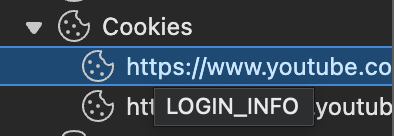
EX: Find cookies in YouTube.
- open
dev toolsin YouTube tab. (Usually useF12to open it.)
- go to Application tab.
- Here's your YouTube cookies information is displayed.
Try Using cookies in your web server.
1. Init your server project
Here I will teach you how to create a project by terminal.
(windows PowerShell in windows or bash, sh, zsh in MacOS & Linux)
You can also create it in your comfortable ways.
- Create your project folder and enter it with:
If you have issue using mkdir as windows user, trymkdir backend_w3 cd backend_w3 # for mac users (sh, bash and etc..) you can use && to sequently run the commands mkdir backend_w3 && cd backend_w3 # for windows PowerShell use ; instead mkdir backend_w3 ; cd backend_w3mdinstead.
mkdir, md -> make directory (AKA folder)
cd -> change working directory (AKA change folder) - Initialize your project and install node modules dependencies with npm:
npm init -y
npm i express nodemon
-y is for accept all default configurations.
- Create index.js as main server file.
const express = require('express'); const app = express(); const port = 4000; app.get('/', (req, res) => res.send('Hello World!')); app.listen(port, () => console.log(`Server running on port ${port}`)); - Create
controllersandroutesdirectory.
MacOS & Linux:
Windows:mkdir controllers routes
md controllers routes - Create new folder under /controllers name /cookies and create a function for sending cookie in a new file at /controllers/cookies/ name
sendCookie.js:const SendCookie = (req, res) => { const key = 'myCookie'; const value = 'This is some private data'; try { res.cookie(key, value); res.send('Cookie set'); } catch (error) { console.error(error); res.status(500).send('An error occurred, Cookie not set'); } }; module.exports = SendCookie; - Create a file under /routes directory name cookies.js as a cookies controller router.
const express = require('express'); const SendCookie = require('../controllers/cookies/sendCookie'); const cookiesRouter = express.Router(); cookiesRouter.get('/', SendCookie); module.exports = cookiesRouter; - And don't forget to call the cookie router in the index.js file.
- Now let's run our server. As some of you saw on the dependencies there is one new dependency we install called
nodemon. From the beginning us mentors tell you to run the server withnode index.jsand you have to always restart the server yourself every time you edited something now that where's nodemon solve this issue. Nodemon is a node dependency that use for running the node and automatically restart the node server by itself every time the codes are updated. Now let's trynodemon index.jsinstead.
skip to 6. if you don't want to do something overkill (but good to know)
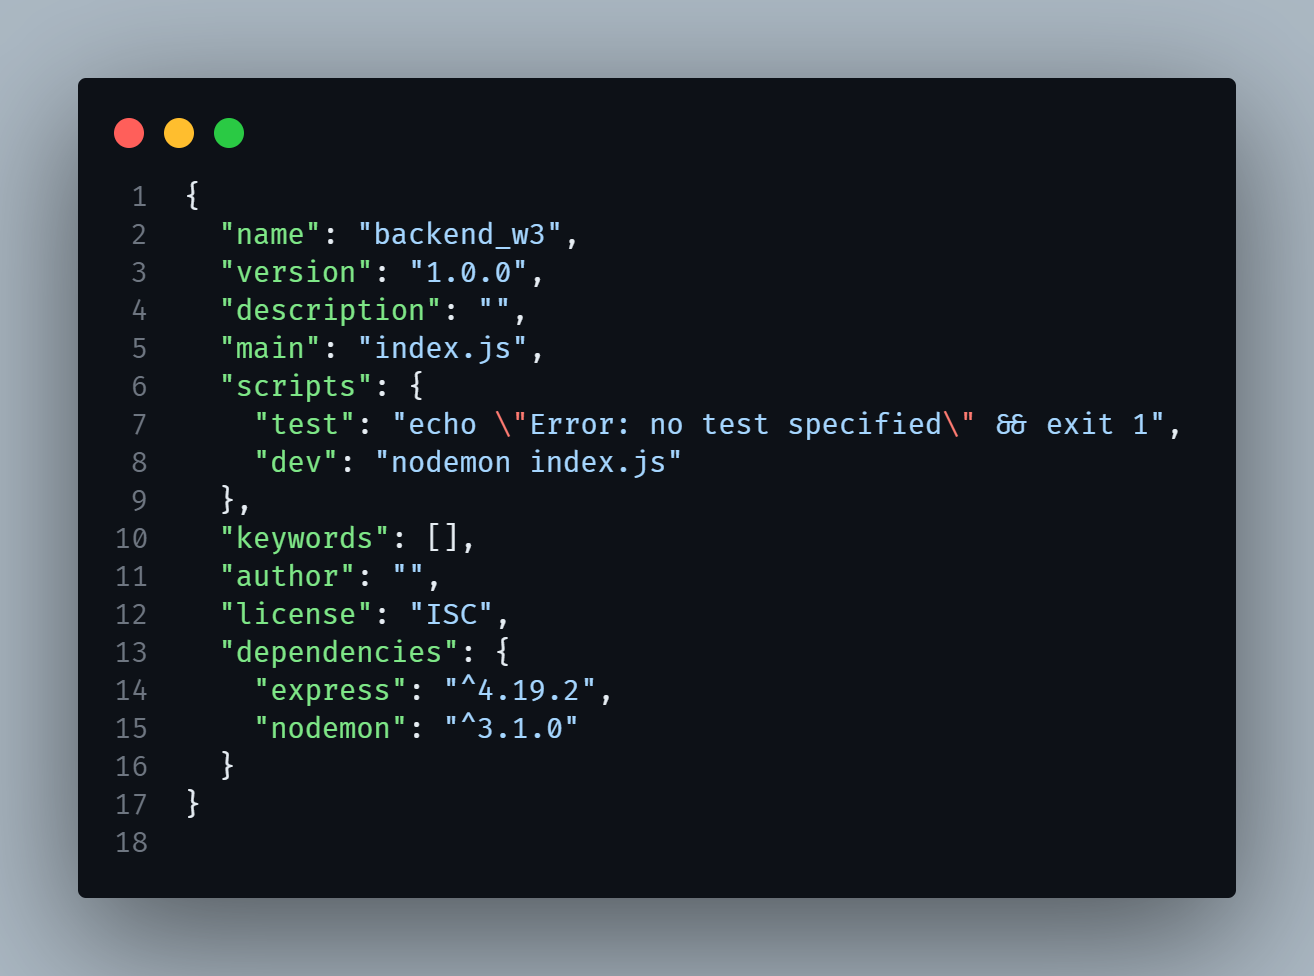
Or if some of you need to go further by usingnpm run devas a running command you can go edit thepackage.jsonfile here:
Add the"dev": "nodemon index.js"in script section. And don't forget to add the ,(comma) on the above line if there're any.
Now you can usenpm run devas a running command!! - Now you if you go to
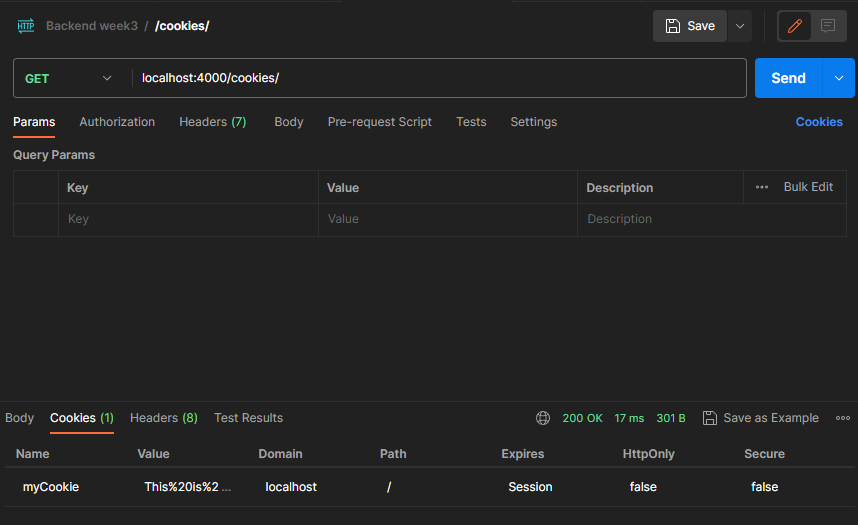
localhost:4000/cookies/and inspect it you will see your cookie there.
- But as you see your cookies information is not private and that is some critical privacy issue due to the use cases of cookies sometime store sensitive information of users or even our own website. So, we're heading to our next topic: JWT


No Comments