การใช้งานDioจริง
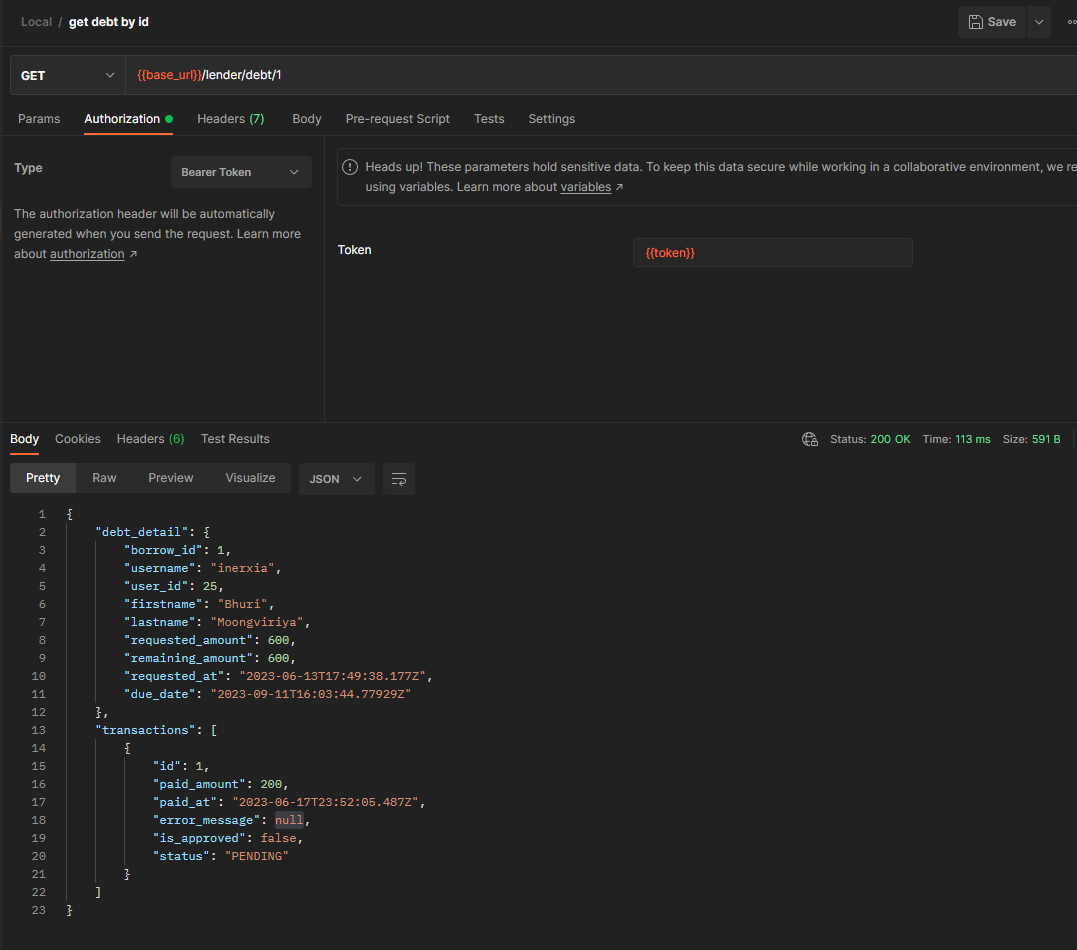
1. ดู Response จาก Backend
คือ การที่เราดู response จาก backend ก่อน จะทำให้เรารู้ว่าสิ่งที่หลังบ้าน return ค่าไรกลับมาให้เรา ทำให้เราสร้างตัว object ไว้รับค่ามันได้เหมาะสมจะได้ แตก
Example
class Detail {
  final int borrowId;
  final String username;
  final int userId;
  final String firstname;
  final String lastname;
  final double requestedAmount;
  final double remainingAmount;
  final DateTime requestedAt;
  final DateTime dueDate;
  Detail({
    required this.borrowId,
    required this.username,
    required this.userId,
    required this.firstname,
    required this.lastname,
    required this.requestedAmount,
    required this.remainingAmount,
    required this.requestedAt,
    required this.dueDate,
  });
  factory Detail.fromJson(Map json) {
    return Detail(
      borrowId: json['borrow_id'],
      username: json['username'],
      userId: json['user_id'],
      firstname: json['firstname'],
      lastname: json['lastname'],
      requestedAmount: json['requested_amount'],
      remainingAmount: json['remaining_amount'],
      requestedAt: DateFormat("yyyy-MM-dd").parse(json['requested_at']),
      dueDate: DateFormat("yyyy-MM-dd").parse(json['due_date']),
    );
  }
}

class Transactions {
  final int id;
  final int paidAmount;
  final DateTime paidAt;
  final String? errMessage;
  final bool isApproved;
  final String status;

  const Transactions({
    required this.id,
    required this.paidAmount,
    required this.paidAt,
    required this.errMessage,
    required this.isApproved,
    required this.status,
  });

  factory Transactions.fromJson(Map json) {
    return Transactions(
      id: json['id'],
      paidAmount: json['paid_amount'],
      paidAt: DateFormat("yyyy-MM-dd").parse(json['paid_at']),
      errMessage: json['error_message'],
      isApproved: json['is_approved'],
      status: json['status'],
    );
  }
}
2. Analysis function
หลังจากเราสร้าง object สำหรับเก็บ Data แล้วจากนั้นเราไปมองดู function ใน backend เพื่อนที่จะ function ใน frontend เพื่อใช้ Dio เรียก backend
2.1 Params
เช่นตัวอย่าง function นี้คือเขา ขอ params debtId กับ userId แต่จริงๆที่ส่งไปให้มีแค่ debtId เท่านั้น เพราะ userId หลังบ้านจะเอา token ตอนเรา login ไปหา userId เอง
2.1.1 การส่งข้อมูล ผ่าน params
เราแค่ สร้าง function ที่รับค่า ตัว debtId มาจากหน้าบ้านก็พอ โดยใส่ตัวแปรไปข้างหลังชื่อpath {$id} อย่างนี้ path ก้คือการส่ง paramsไปเลย
Future<DetailLone?> getDetail(String id) async {
  try {
    final getdetail = await Api.dio.get("/lender/debt/$id");

    if (getdetail.statusCode == 200) {
      final data = getdetail.data;
      DetailLone res = DetailLone.fromJson(data);
      return res;
    }
  } catch (err) {
    rethrow;
  }
  return null;
}
2.1.2 การ เรียกใช้ function ที่ขอ params
สำรหับ path ที่มี params ข้างหลังอยู่แล้วจะมีตัว แปรให้อยู่บนสุดของ class ใน หน้า page เลย
หน้าที่เรามีเพียงแค่ ดึงตัว params นั้นมา ใส่ลงใน function ของเรา
2.2 Body
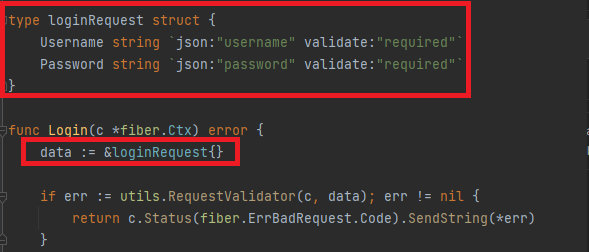
จะสังเกตุ ได้จาก function ที่มี req หรือ ใน postman ที่มี body
2.2.1 การส่งข้อมูล ผ่าน body
เราสร้างต้อง function ที่รับ parameter ตัวที่ body ต้องมาใส่ใน function ของเรา แล้ว " ( , data: { "json": value } )" ข้างหลังชื่อ path
  Future<void> login(String email, String password) async {
    try {
      final response = await Api.dio.post(
        "/auth/login",
        data: {"username": email, "password": password},
      );
      throw "Login failed";
    } catch (err) {
      rethrow;
    }
  }
2.2.2 การ เรียกใช้ function ที่ขอ body
ก็แค่เรียกใช้ function.
ข้อควรระวัง สำหรับ value ของ type TextEditingController จำเป็นต้อง .text ทุกครั้ง อย่าหาว่าไม่เตือน
2.3 เรียกแบบไม่ req อะไรเลย
ก็เรียกได้เลยแค่นี้แหละ
  FutureList<<User?>> getborrowers() async {
    List<User> res = [];
    try {
      final borrowers = await Api.dio.get("/lender/borrower");
      if(borrwers.status == 200){
      	data = borrowe.data;
        res = data.User.fromJson(data);
        return res
      }
      return res
    } catch (err) {
      rethrow;
    }
  }
3. แก้หน้า frontend
เจอตรงไหนแดงๆก็แก้ให้หมด ค่อยๆทำ จากข้างบนลงล่าง สู้ๆนะ
กรณีเจอคน break แตกหรือ อะไร ให้ tag Frontend แล้วให้มันแก้
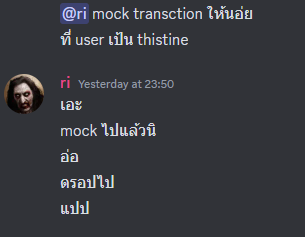
เวลาอยากให้เพื่อน mock ข้อมูลหลายๆแบบ ก็ tag DB ให้มัน mockให้
4. Postscript
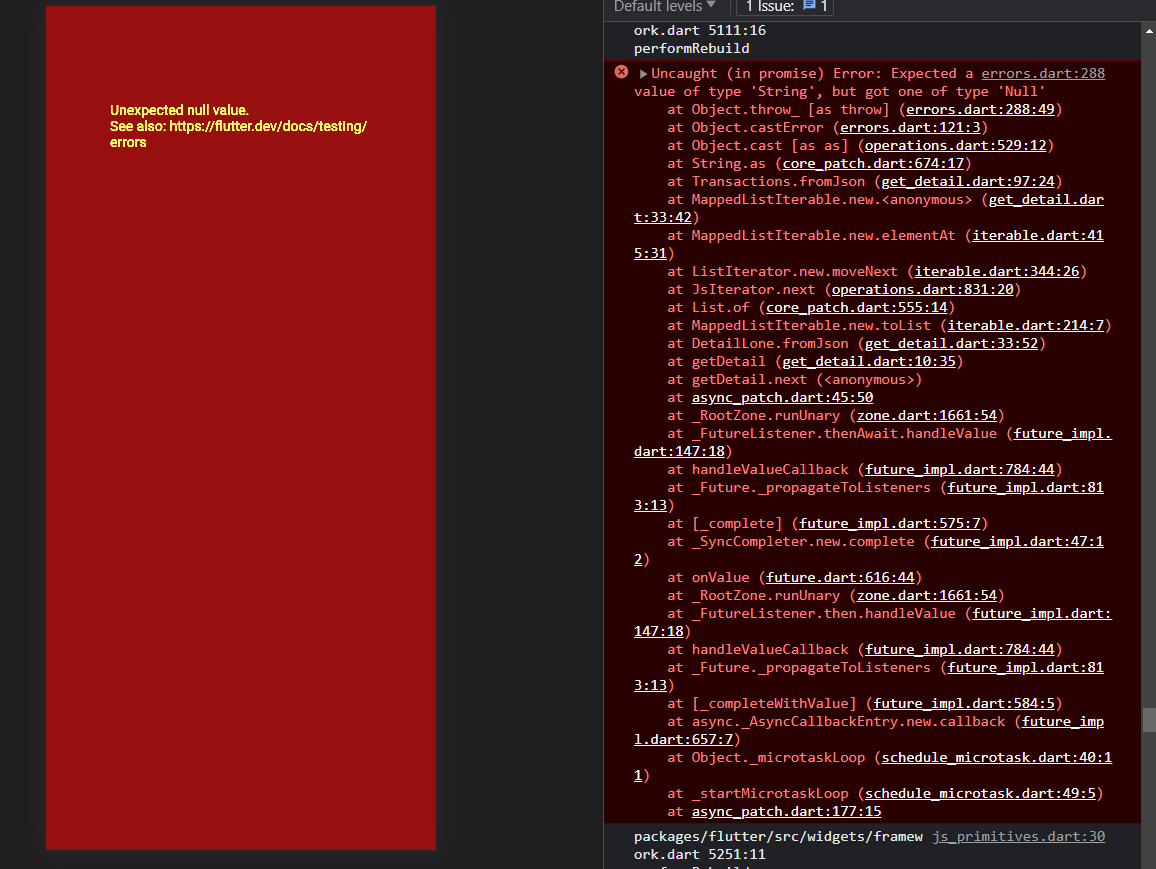
เจอปัญหาตรงพยายาม มอง error แล้วค่อย debug ถ้าทำไม่เป็นแค่ Seach google ถ้าเจอบ่อยๆแล้วเราจะเก่งขึ้น เดี๋ยวมันก็ชินเหมือนกับที่เขาเมินมึงอะ แต่ถ้าไม่ไหวจริงเรียกได้นะ 15.00 P.M. - 0.00 A.M. มันไม่ยากเกินตัวมึงหรอก ใช่ไหม อย่างน้อยก็ง่ายกว่าให้หันเขากลับมาสนใจมึงละกัน






No Comments