IoT Lab - Connect ESP32 with Homebridge
If you haven't setup the ESP32 microcontroller and Homebridge before, you should setup that first!
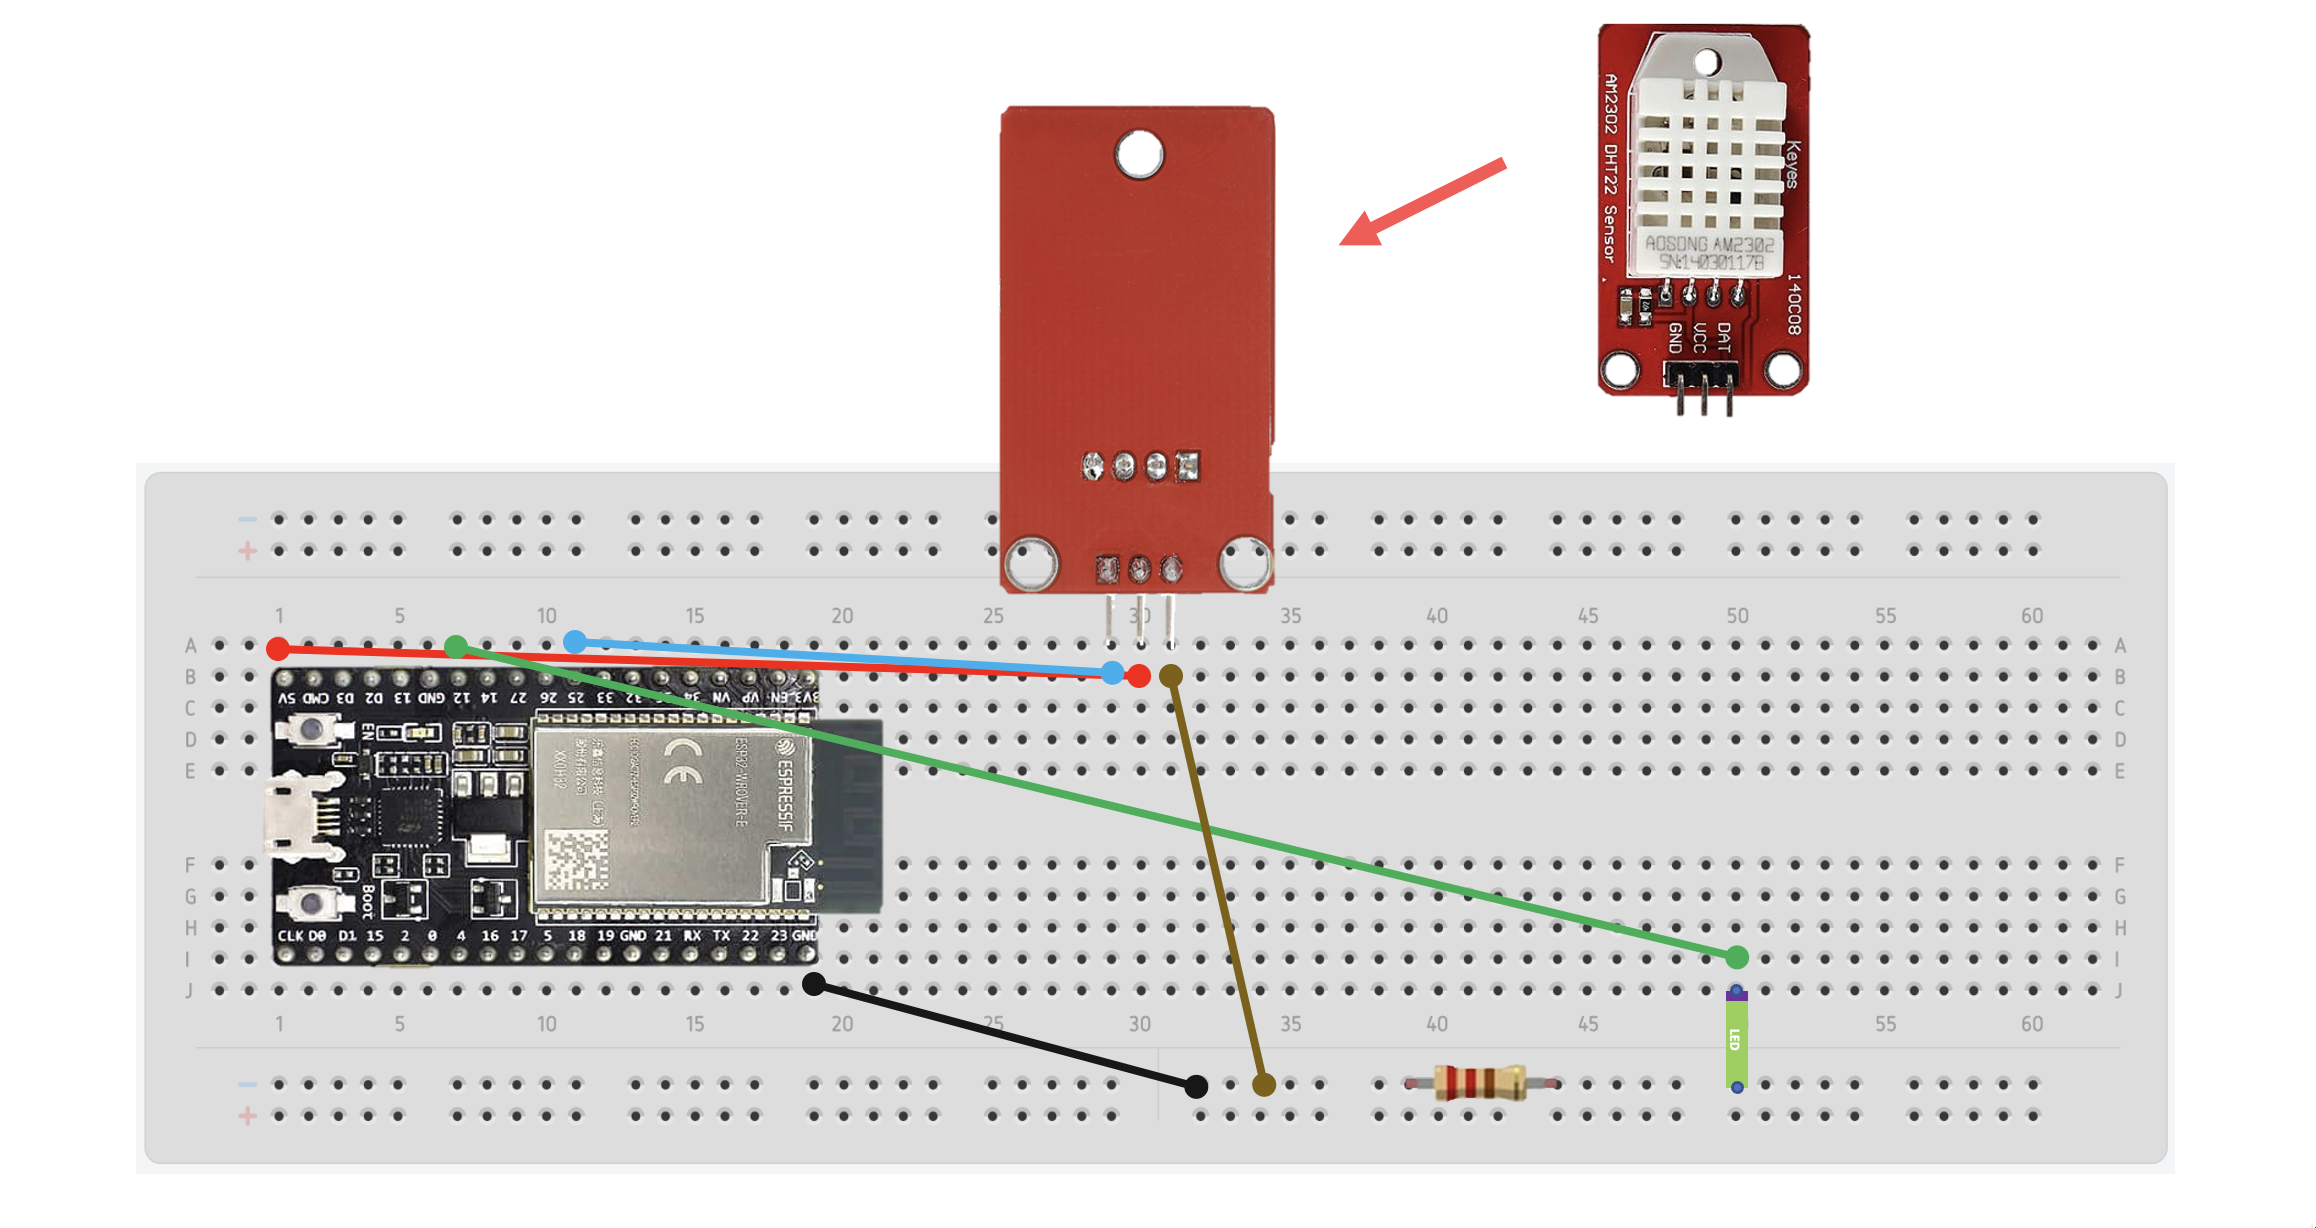
Schematic – ESP32 with Humidity and Temperature Sensor and LED Lights
Code
#include "DHT.h"
#include <HTTPClient.h>
#include <WiFi.h>
#include <WebServer.h>

#define DHTPIN 25     // what pin we're connected to
#define DHTTYPE DHT22   // DHT 22  (AM2302)
#define LED 12 // LED pin

DHT dht(DHTPIN, DHTTYPE);

// Replace with your network credentials
const char* ssid     = "WiFi-name";
const char* password = "password";

WebServer server(80);

void setup() {
  Serial.begin(115200);

  // Start humidity sensor
  dht.begin();

  pinMode(LED, OUTPUT); // Set the LED pin as an OUTPUT

  // Connect to Wi-Fi network
  WiFi.begin(ssid, password);
  while (WiFi.status() != WL_CONNECTED) {
    delay(1000);
    Serial.println("Connecting to WiFi...");
  }

  Serial.println("WiFi connected");
  Serial.println("IP address: ");
  Serial.println(WiFi.localIP());

  // Start the server
  server.on("/", handleRoot);
  server.on("/on", ledOn);
  server.on("/off", ledOff);
  server.begin();
  Serial.println("Server started");
}

void loop() {
  // Open connection
  server.handleClient();

  // Wait a few seconds between measurements.
  delay(2000);

  // Reading temperature or humidity takes about 250 milliseconds!
  // Sensor readings may also be up to 2 seconds 'old' (its a very slow sensor)
  float h = dht.readHumidity();
  // Read temperature as Celsius
  float t = dht.readTemperature();

  // Check if any reads failed and exit early (to try again).
  if (isnan(h) || isnan(t)) {
    Serial.println("Failed to read from DHT sensor!");
    return;
  }

  Serial.print("Humidity: ");
  Serial.print(h);
  Serial.print(" %\t");
  Serial.print("Temperature: ");
  Serial.print(t);
  Serial.println(" *C ");

  // Send the current temperature to Homebridge for updating value
  if(WiFi.status() == WL_CONNECTED){
      HTTPClient http;

      // http://192.168.137.253:51828/?accessoryId=sn1&value=23

      String serverName = "http://192.168.137.253:51828/"; // Your homebridge IP
      String accessoryId = "sn1"; // Your accessory id
      String serverPath = serverName + "?accessoryId=" + accessoryId + "&value=" + t;

      // Your Domain name with URL path or IP address with path
      http.begin(serverPath.c_str());

      // If you need Node-RED/server authentication, insert user and password below
      //http.setAuthorization("REPLACE_WITH_SERVER_USERNAME", "REPLACE_WITH_SERVER_PASSWORD");

      // Send HTTP GET request (Send the current temperature to Homebridge)
      int httpResponseCode = http.GET();

      if (httpResponseCode>0) {
        Serial.print("HTTP Response code: ");
        Serial.println(httpResponseCode);
        String payload = http.getString();
        Serial.println(payload);
      }
      else {
        Serial.print("Error code: ");
        Serial.println(httpResponseCode);
      }
      // Free resources
      http.end();
    }
    else {
      Serial.println("WiFi Disconnected");
    }
}

void handleRoot() {
  // return message for testing
  server.send(200, "text/plain", "Hello from ESP32!");
}

void ledOn() {
  digitalWrite(LED,HIGH);
  // return light status to Homebridge
  server.send(200, "text/plain", "The light is on!");
}

void ledOff() {
  digitalWrite(LED,LOW);
  // return light status to Homebridge
  server.send(200, "text/plain", "The light is off");
}
After that, save your code and upload your code to the microcontroller.
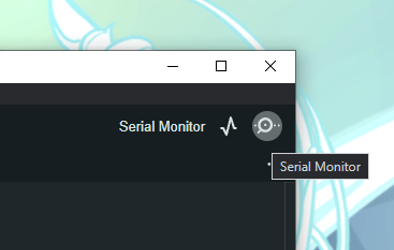
When your code uploads completely, you can see the Serial Monitor which is a console of your microcontroller by clicking the Magnifier icon at the top right of the screen.
In the Serial monitor you can change the speed of exchange messages with the Serial Monitor and microcontroller by clicking the dropdown at the bottom right of the screen. (The speed should be the same with your speed in the code Serial.begin(115200))
In the Serial monitor, you will see the IP of your microcontroller.
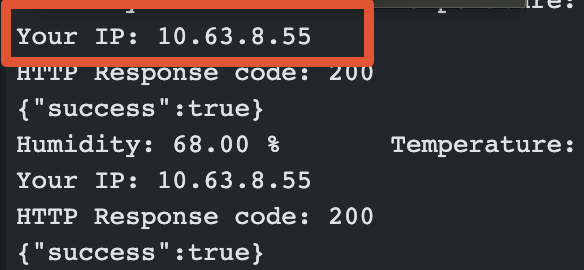
Copy the IP of your microcontroller to the Homebridge configuration and replace the IP with your microcontroller's IP.

No comments to display
No comments to display