React Project Setup
How to Create React Project
Make sure you've already install node js + npm
1. Open your terminal, and move to any directory that you want to keep the project.

2. Type the following command to create React Project
npx create-react-app yourAppNameor You can use Vite, which is faster
npm create vite@latestWhy we use Vite?
- Ridiculously Fast Development: Vite is known for its blazing-fast development server, which leverages native ES module imports to eliminate the need for bundling during development.
- Flexible Configuration: Vite provides a flexible configuration system that allows you to customize every aspect of your project setup. This makes it suitable for a wide range of projects.
In case you use Vite

- Type your project name and then click enter
- Select React as a framework (use your arrow key to move)
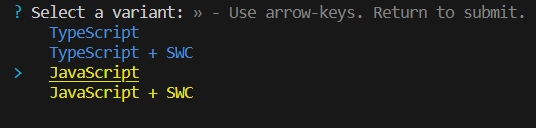
3. Select JavaScript
Then it's donee :)
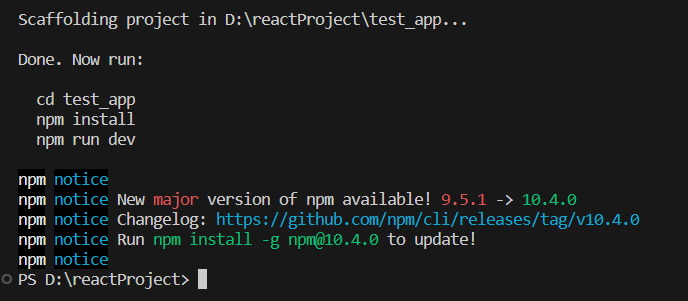
3. Move to your project folder (The one that you define the name)

4. Type the following command to install dependencies
npm i 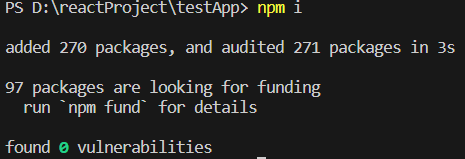
5. Type the following command to run the project
npm run dev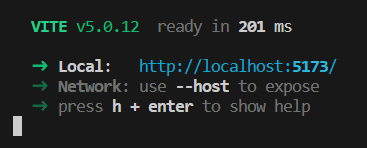
Click the link to the local host
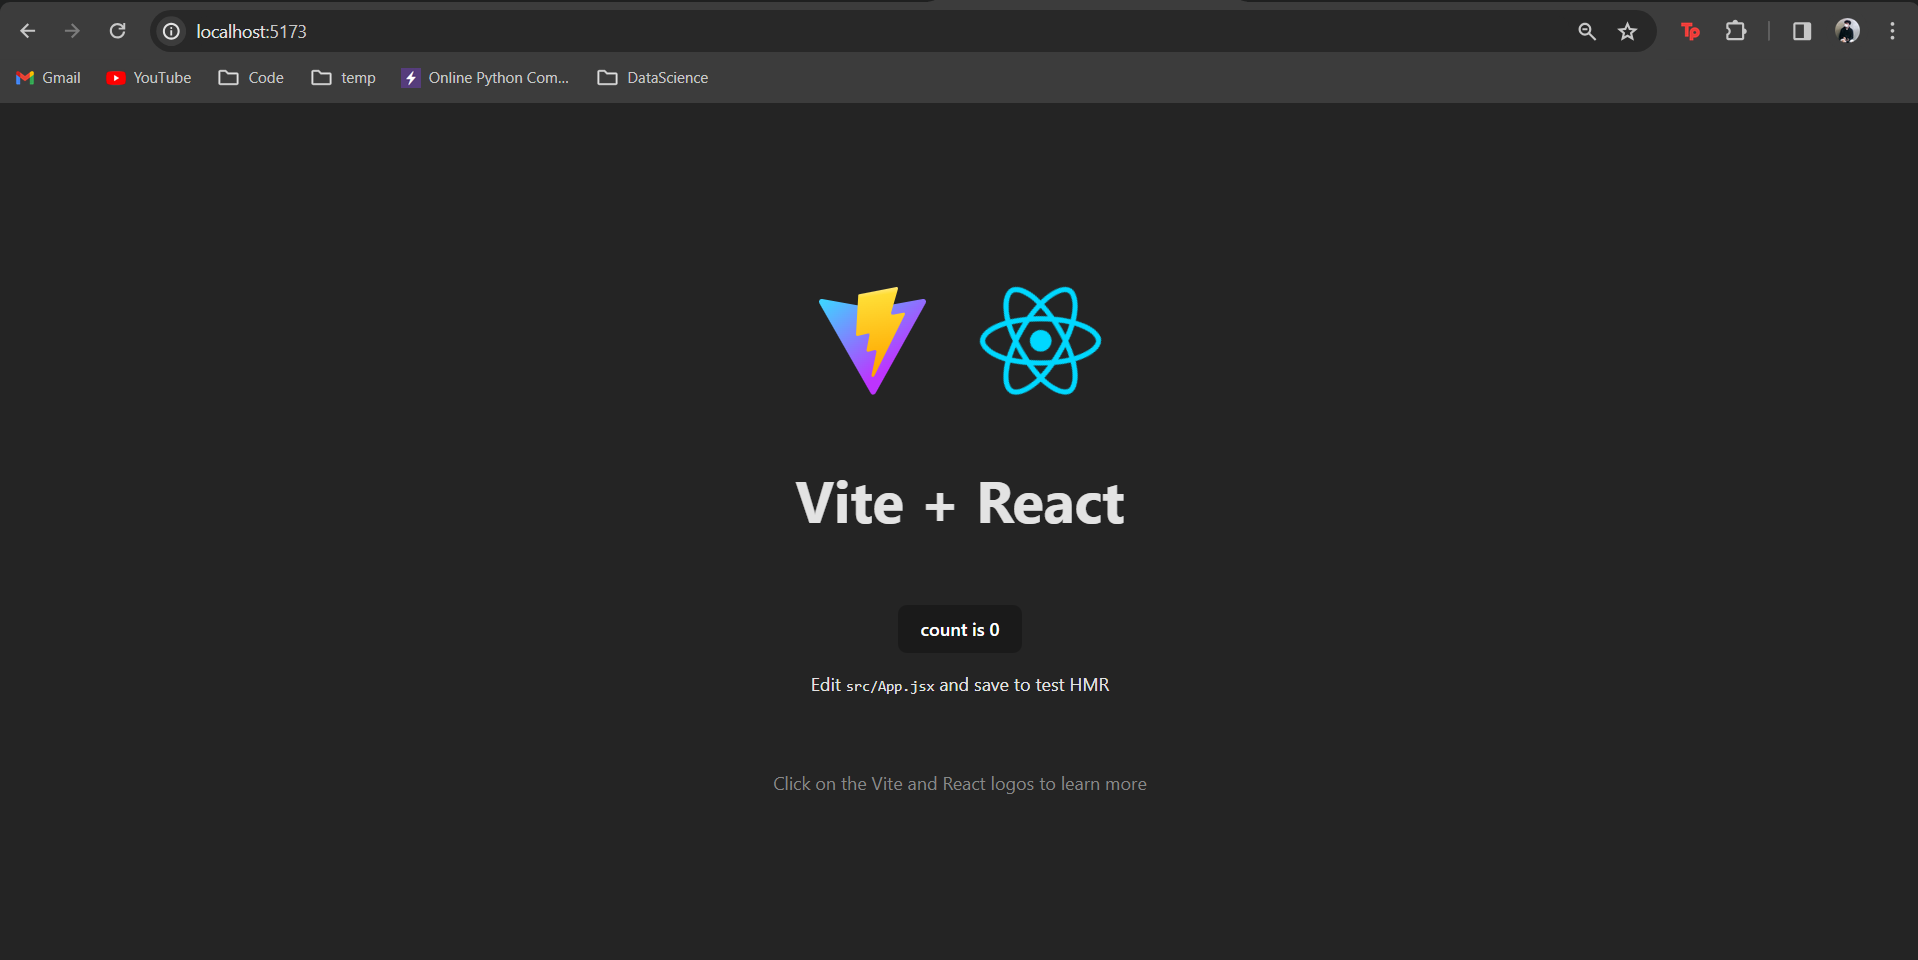
Yeayy you already completed the step!! :)
React Folder & File
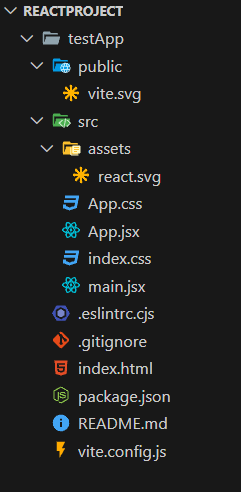
/public : it' s a directory to keep html file (index.html) and the images will keep in this directory
/src : it's a directory to keep javascript or Typescript file. All file that you develop keep in this directory
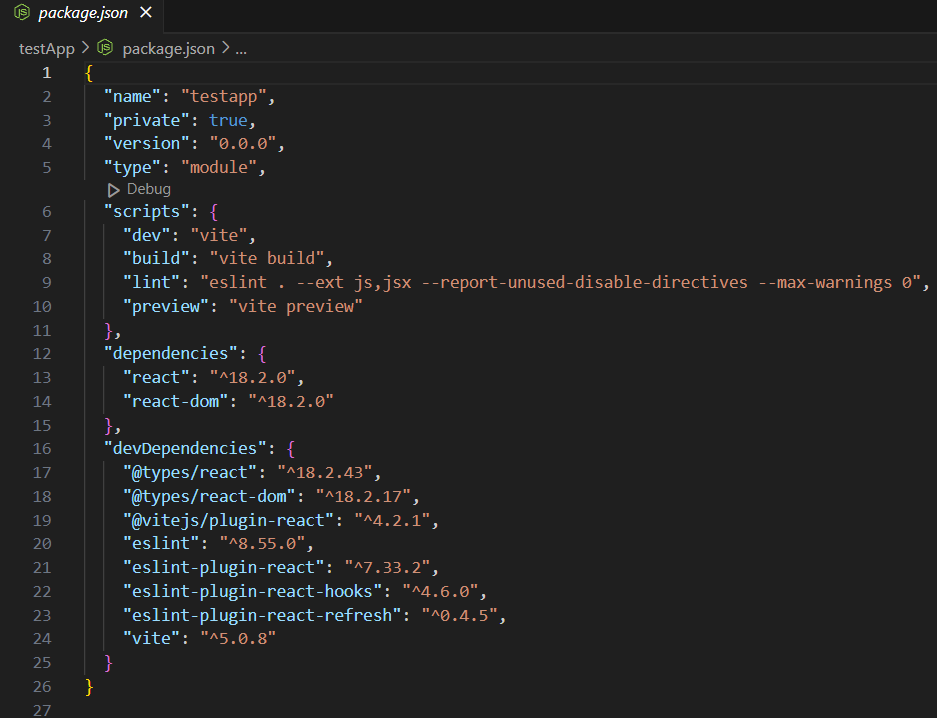
package.json :this file include information of project and the dependency that you install and script to run command
No comments to display
No comments to display